
Apparel Care
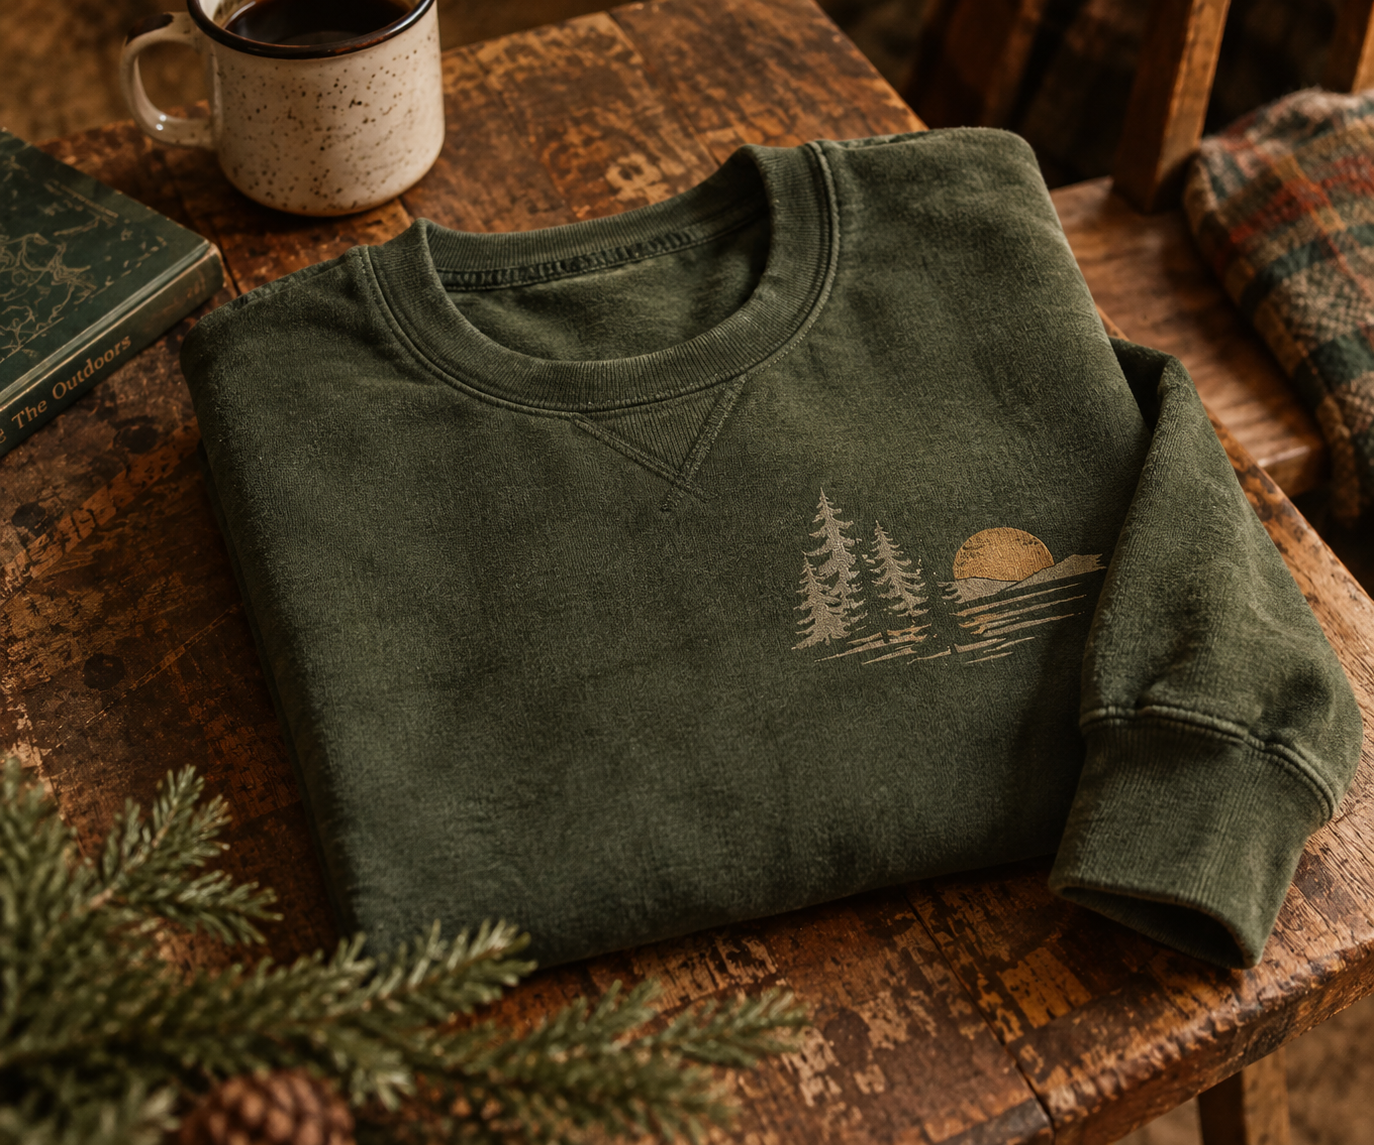
T-Shirts • Long Sleeves • Crewnecks • Hoodies • Zip-Ups
Our apparel designs are created to last, but proper washing and drying will help protect both the garment and design.
For best results:
Turn garment inside out before washing
This helps protect the design from friction during the wash cycle.
Machine wash cold
Use cold water with similar colors.
Use mild detergent
Avoid bleach and harsh cleaning products.
Avoid fabric softener when possible
This can help preserve the garment and transferred design.
Tumble dry low or hang dry
High heat can shorten the life of decorated apparel. Hang drying is the gentlest option.
Do not iron directly over the design
If ironing is necessary, turn the garment inside out and avoid applying direct heat to the decorated area.
Do not dry clean decorated apparel.
Quick Care
WASH COLD • INSIDE OUT • LOW HEAT • NO BLEACH • DON'T IRON DESIGN
TUMBLERS, MUGS & DRINKWARE
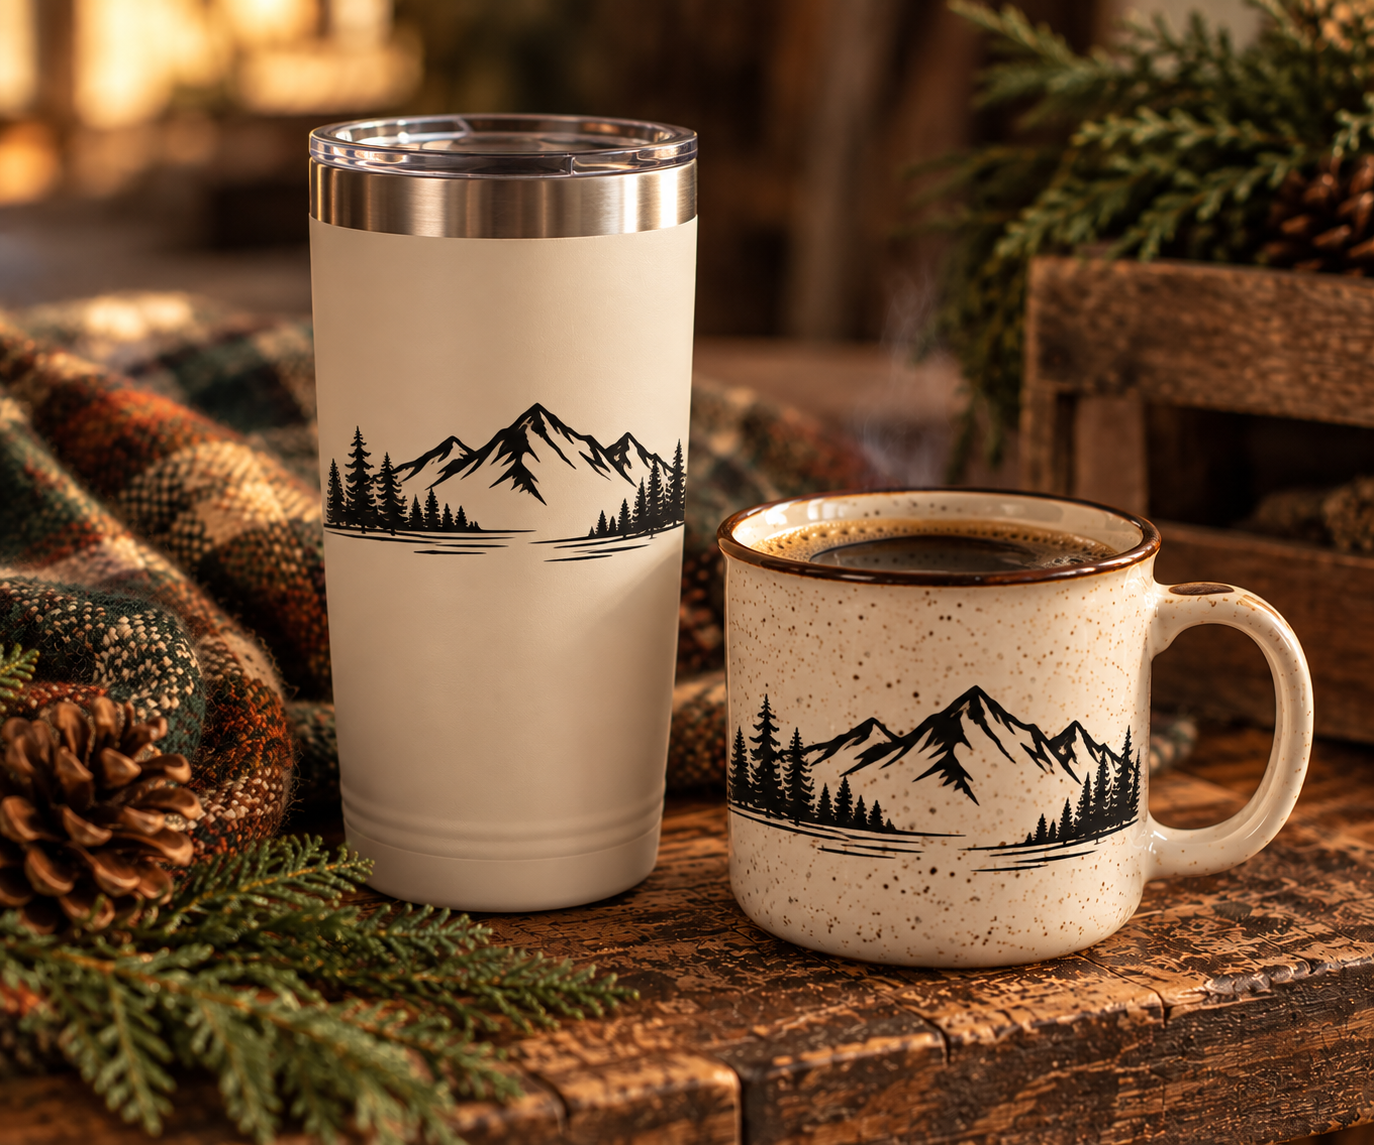
UV DTF & Decal-Decorated Drinkware
Our decorated drinkware deserves a little extra care to help preserve the design.
Hand wash recommended
Gently wash using warm water, mild dish soap, and a soft sponge or cloth.
Do not soak
Avoid leaving decorated drinkware submerged in water for extended periods.
Avoid abrasive scrubbers
Steel wool, rough sponges, and abrasive cleaners can damage the design.
Do not scrub or pick at the design
Pay special attention to the edges of decals and transfers.
Allow to air dry or gently towel dry.
Quick Care
HAND WASH • DON'T SOAK • NO ABRASIVES • HANDLE DESIGN WITH CARE
KOOZIES / CAN COOLERS
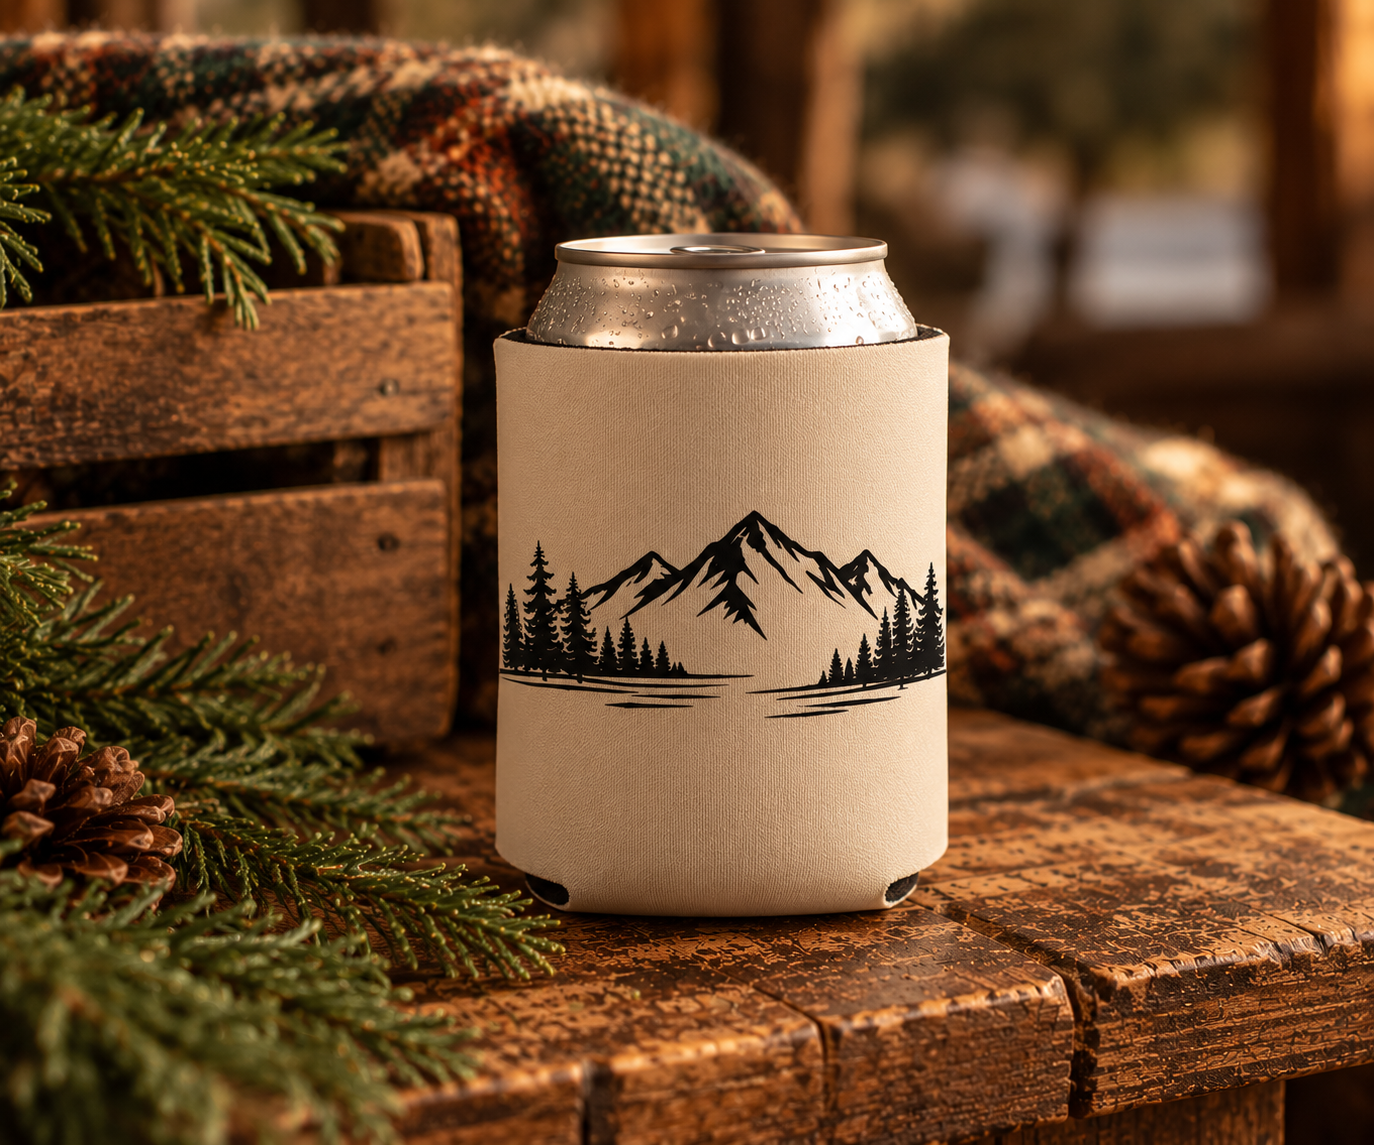
Hand washing is recommended when needed.
Use mild soap and cool or lukewarm water, and allow the item to air dry completely.
Avoid bleach, harsh chemicals, high heat, and aggressive scrubbing directly over the design.
Quick Care
GENTLE WASH • AIR DRY • NO BLEACH • AVOID HIGH HEAT
STICKERS & DECALS
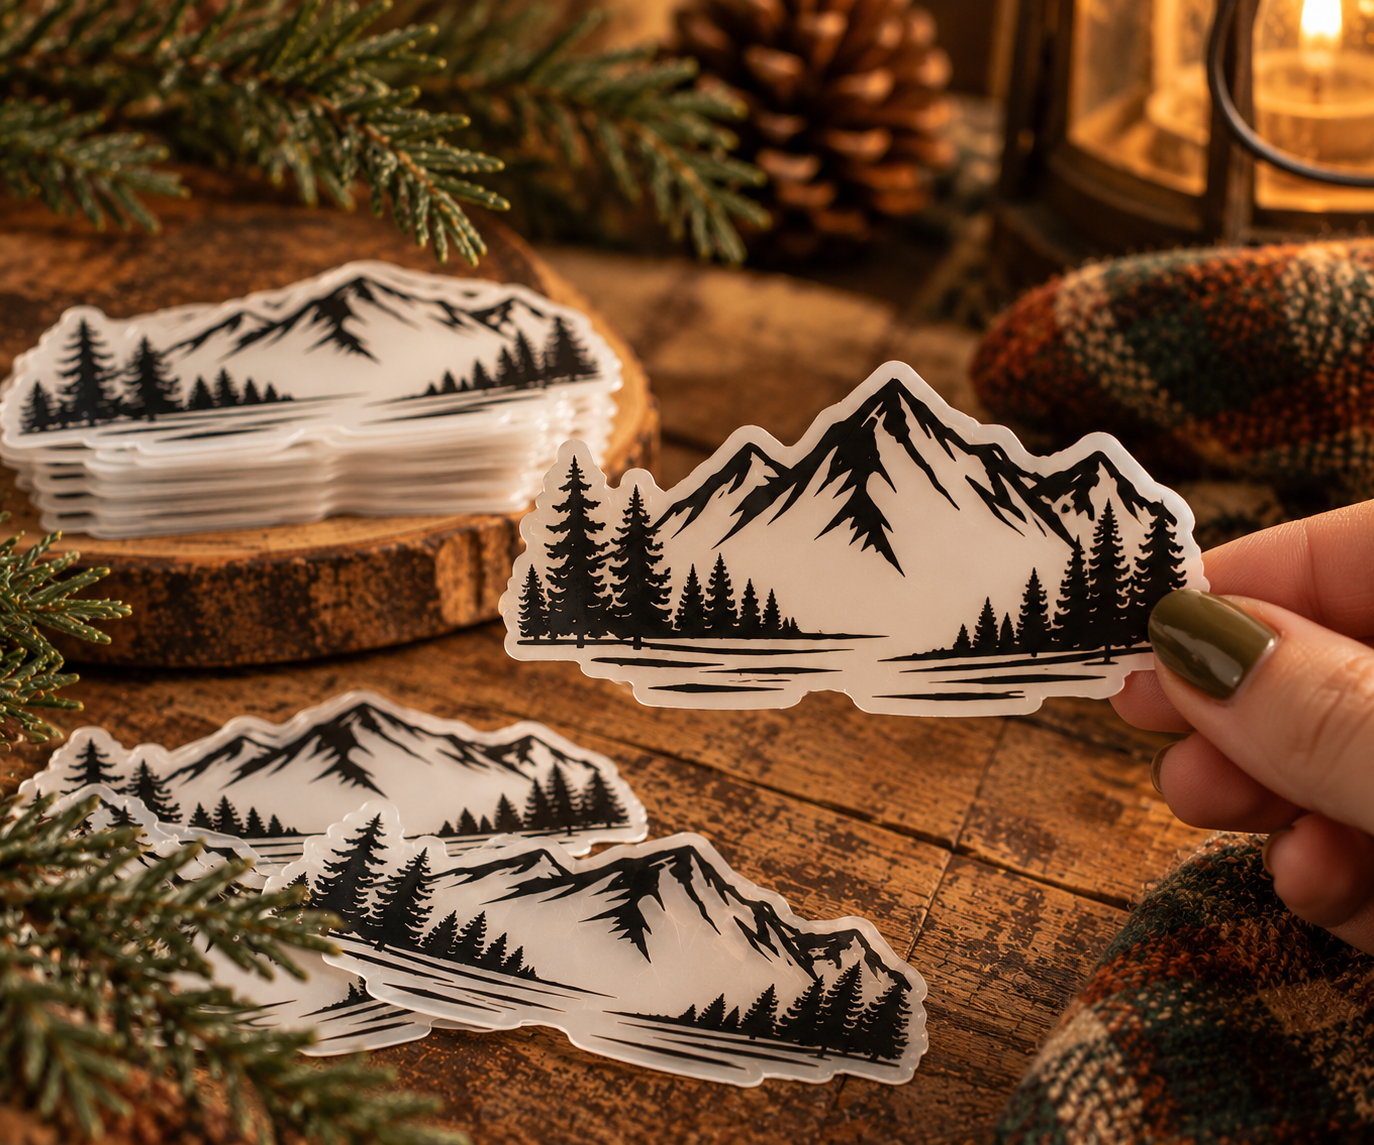
Getting the Best Adhesion
For best results, apply stickers and decals to a clean, smooth, dry surface.
Before applying:
1. Clean the surface — Remove dirt, grease, dust, and residue.
2. Allow the surface to dry completely.
3. Position carefully — Once certain decals are applied, repositioning may be difficult.
4. Apply firm, even pressure across the entire design.
5. Allow the adhesive time to bond before washing or exposing the item to heavy use.
Avoid applying decals to textured, dirty, oily, or frequently flexible surfaces unless the product is specifically designed for that application.
Actual durability will depend on the decal type, surface, environment, and how the item is used.
KEYCHAINS & ACCESSORIES
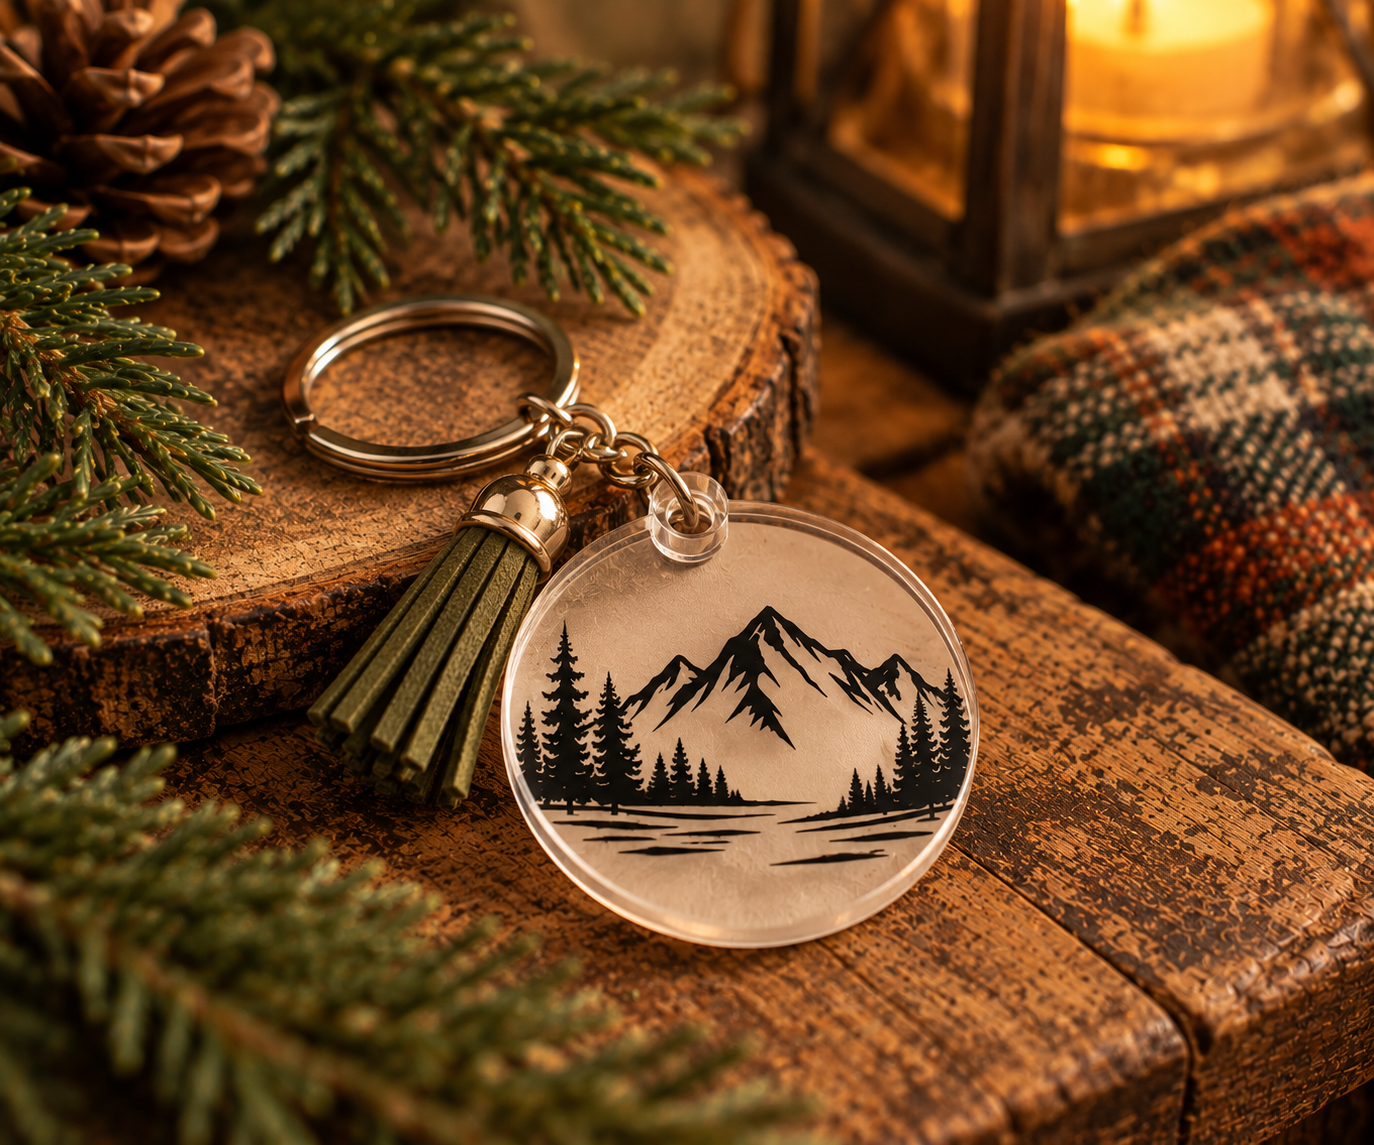
To keep your accessories looking their best:
Wipe clean using a soft, damp cloth.
Avoid prolonged exposure to water, harsh chemicals, alcohol-based cleaners, and abrasive materials.
Do not aggressively scrub decorated surfaces.
Minor wear may naturally occur over time with frequently handled items such as keychains.
CANDLE CARE
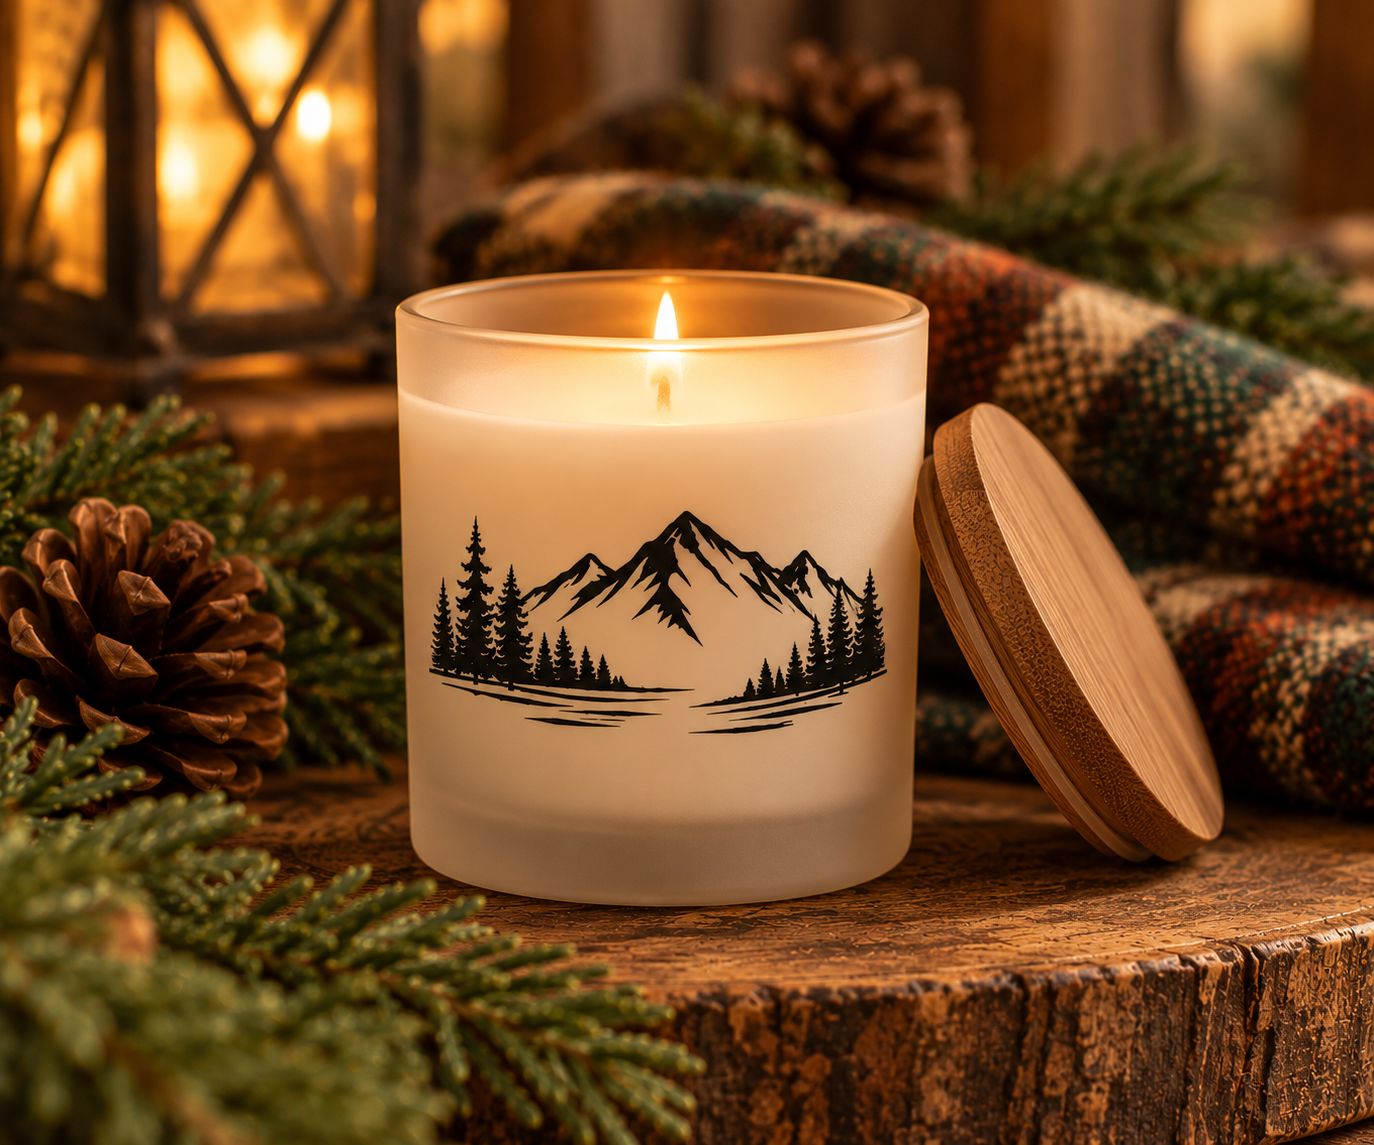
Before Lighting
Place your candle on a stable, heat-resistant surface away from drafts, flammable materials, children, and pets.
Keep the wax free of wick trimmings, matches, and other debris.
Trim Your Wick
Before each burn, trim the wick around ¼ inch.
The First Burn Matters
On the first burn, allow the melted wax pool to develop appropriately across the surface rather than repeatedly burning the candle for very short periods.
This can help promote more even burning throughout the life of the candle.
While Burning
Never leave a burning candle unattended.
Keep candles away from drafts, fans, vents, children, pets, and anything that could catch fire.
Do not move or handle a candle while the wax is hot or melted.
Follow the maximum continuous burn time provided with your individual candle.
Know When to Stop
Discontinue use according to the safety instructions provided with your candle rather than burning it completely to the bottom of the vessel.
Quick Candle Safety
TRIM WICK • BURN WITHIN SIGHT • KEEP AWAY FROM CHILDREN & PETS • USE A HEAT-SAFE SURFACE • NEVER LEAVE UNATTENDED
HAVE A CARE QUESTION?
We're happy to help.
Not sure how to care for your particular item?
Check the product description for any item-specific instructions or visit our Contact Us page and we'll be happy to help.